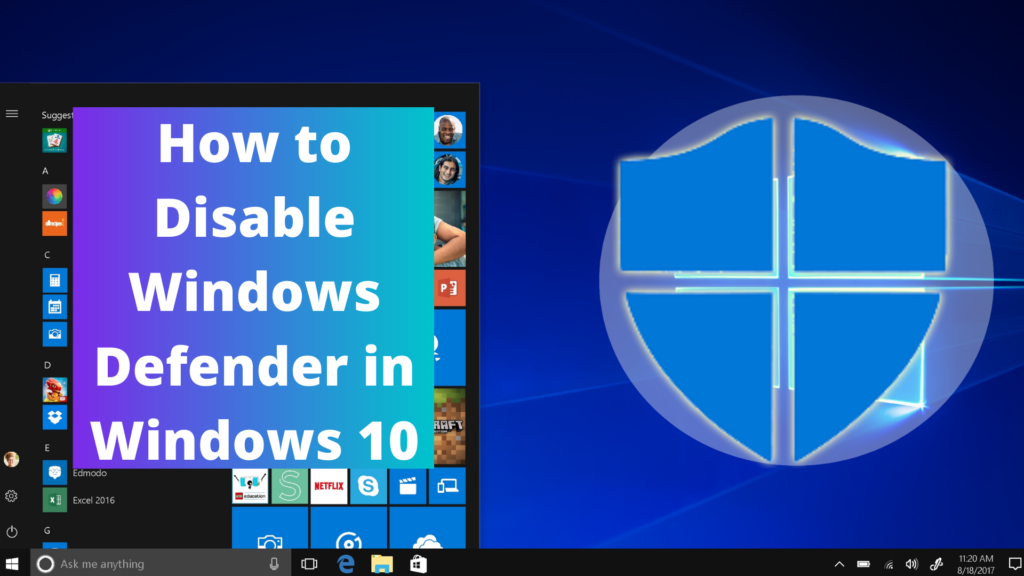
Hello friends, welcome to my channel. My name is Dipak Varsani. This video will show you how to Disable Windows defender or Windows security temporary or permanently in windows 10. We can use three methods to disable windows defender and other security on windows 10. One method will disable for a temporary period and remain two disables it permanently, until we enable using the same method.
How to disable windows defender temporary on Windows 10?
This method is to disable windows defender for a temporary time. If you disable windows defender using this method, Real-Time protection will turn on back except other protections once you restart your computer. As this method disables real-time until you manually turn it on or restart your computer, we named this method as temporary disabling method and to follow this method; we have to follow the below steps;
- Click on the Start Menu.
- Click on Settings.
- Choose Update and Security or Security.
- Click on Windows Security.
- Click on Virus & Threat Protection
- Go to Manage settings under “Virus and Threat Protection”.
- Disable Real-Time protection and other options.
How to disable windows defender Permanently through Registry Editor on Windows 10?
If you want to disable the windows defender permanently, we have two options: Registry editor and windows Powershell (Admin). So let’s see first through Registry Editor.
Press the Windows Key + R keyboard shortcut to open Run. Type Regedit, and click on Ok to open the Registry. Browse the following path:
- HKEY_LOCAL_MACHINE\SOFTWARE\Policies\Microsoft\Windows Defender
- Right-click on the Windows Defender (folder) key, select New and click on the DWORD (32-bit) Value. Name the key DisableAntiSpyware and press Enter. Double-click the newly created key and set the value from 0 to 1 and click ok.
- Right-click on the Windows Defender (folder) key, select New and click on the key. Name the key Real-Time Protection and press enter.
- Right-click on Real-Time Protection (folder) key, select new and click on DWORD (32-bit) Value. Name the key DisableBehaviorMonitoring and press enter. Double-click the newly created key, set the value from 0 to 1 and click ok.
- Right-click on the Real-Time Protection (folder) key, select new and click on DWORD (32-bit) Value. Name the key DisableOnAccessProtection and press enter. Double-click the newly created key, set the value from 0 to 1 and click on ok.
- Right-click on the Real-Time Protection (folder) key, select new and click on DWORD (32-bit) Value. Name the key DisableScanOnRealtimeEnable and press enter. Double-click the newly created key, set the value from 0 to 1 and click on ok.
- Restart your computer to disable Windows Defender Antivirus permanently.
How to disable windows defender Permanently using Windows Powershell (Admin) on Windows 10?
- Right-click on your start menu and select “Windows Powershell (Admin).“
- Type command “Set-MpPreference-DisableRealtimeMonitoring $true” and press enter to disable Real-Time protection permanently.
- Type command “Set-MpPreference-DisableRealtimeMonitoring $false” and press enter to enable Real-Time Protection permanently.
Watch below videos for more ideas on all above methods.